I have to admit – I am a photo addict, and my kids are pretty much like me. One of our favourite past times together would be looking at the photos on my smart phone while recounting our little adventures together.
Because photos are very precious to me, I would be glad to lag a dslr completed with lenses, flash and battery pack, if I haven’t have a diaper bag, 3 water bottles and a baby to carry along. As you can see, I have little choice but to rely on my trusty little smart phone to take photos. Of cos the photos cannot be compared to those taken with professional cameras. But I have a few tried and proven tricks that could close the gap. Let me share them with you in this post.
Did I mention that apart from my hand-carry (baby), I have 3 elder children too? That is 4 lively and curious children, whose childhood are immortalise in the many many photos I took, mostly with my smart photo (you can view them on my Instagram here).
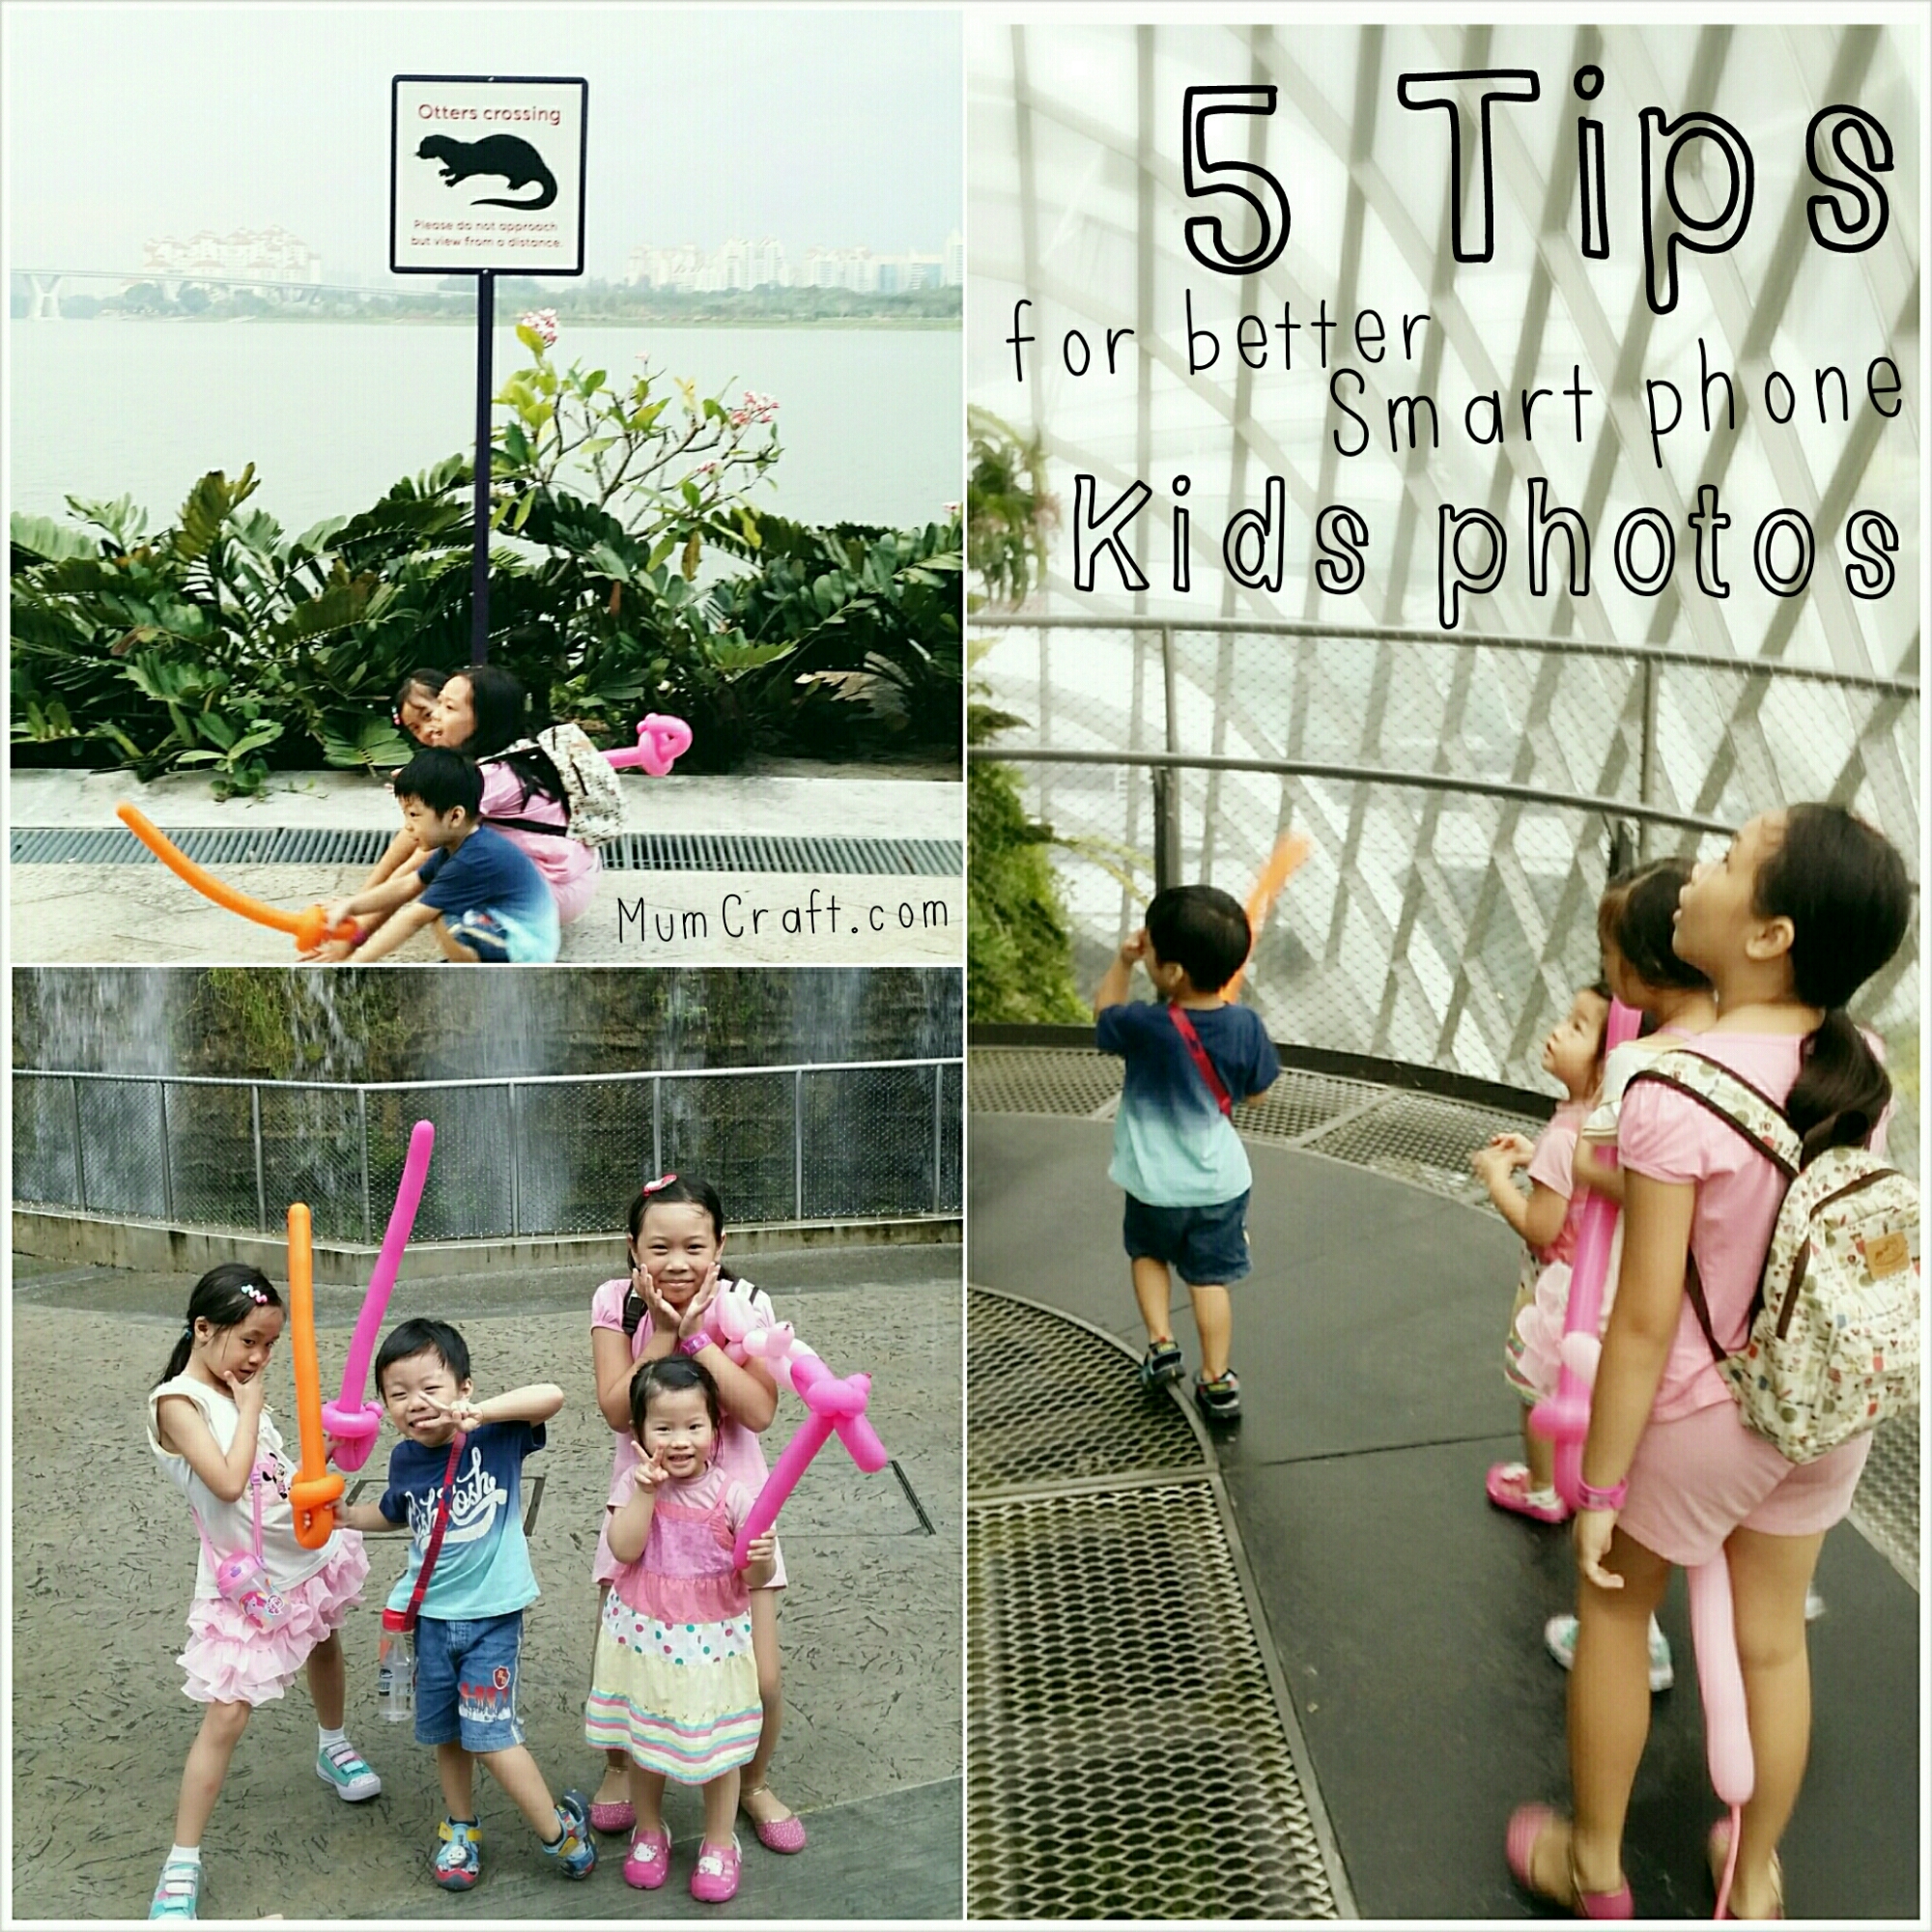
My littlest will be 3 months old in a week and I’ve been out and about with all 4 on a few occasions. We visited the Cloud Forest at Gardens by the bay last week and here are some of the photos I took and edited with my smart phone.


Not bad, right? All happy and having a great time. No one will remember mummy screaming at them for jumping on wet floors and fighting over muffins in the years to come. By the way, the littlest in the photos is my niece, my hand-carry (baby) is here.

Here’s the magic behind these photos :
Tip 1 : Take multiple shots
Cos seriously, it’s not easy to get kids pose for the camera all at the same time. So instead of waiting for everyone to finally look and smile into the camera, I rather snap a few more in the process.


Tip 2: Crop
The crop function is one of the best tools around. It helps to remove distractions (like the pole and the lady on the right) and frames the image.

Tip 3: Blur
Another basic tool that works wonders. No need to carry a heavy and expensive lense around for that foreground focus and background blur photo. Jus use the blur tool for the job.

Tip 4: Lighting
Professional photographers usually take bracket shots in the studio. Bracket shots meant 3 shots of the same subject – 1 slightly overexposed, one at the light metre recommended exposure, and one slightly under exposed. The purpose is to select the best among this three. Most dslr comes with inbuilt light metre but this feature isn’t available on most smart phone (at least not mine). Here’s where the lighting adjustment tool comes in handy. For children subject, I personally prefer to over expose the photo a little, to brighten the mood. However, the brightening effect also compromise the details of the photo, so you may miss a little pimple here or slight dark eye ring there in so doing – which I am pretty ok with 🙂
While

Tip 5: Filter
This is my absolute favourite. Cos filters can help to stage the photos instantly. My fav app for filters is Aviary and Instagram. But especially Instagram cos it is so convenient to just add on the filters and post!

Do you have precious photos of your children to share too? Here’s an opportunity to win some cool prices while doing so. Simply submit a photo of you and your children participating in an activity together to the Friso Experiences Gallery and stand a chance to win weekly and grand prizes. More information here apps.facebook.com/FrisoExperiences.
Contest closes on 30th April 2015, so hurry!