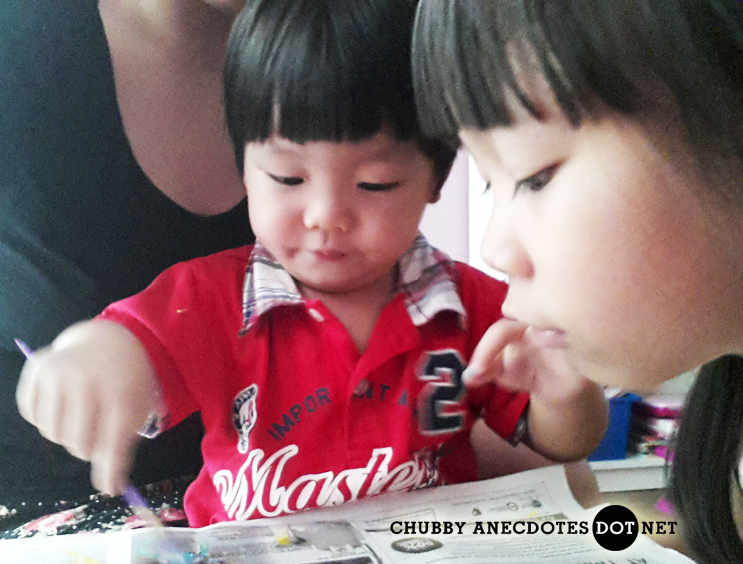
Here’s a little activity I did with my kids at home using recycled cardboard from toy and clean food packages – we painted cut-out alphabets! You’ll be amazed how simple it is 😉
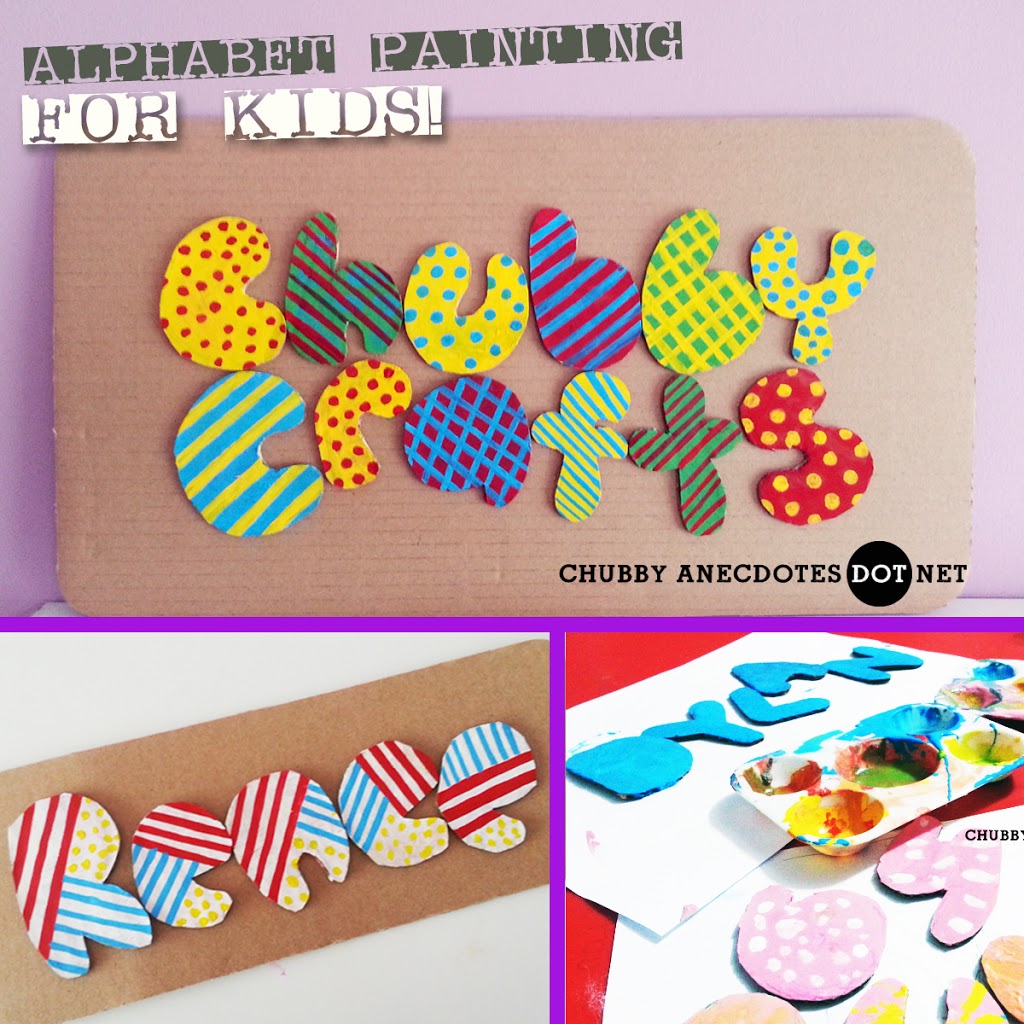
Step1: Decide on what you would like to make out of the cut-out alphabets. I think they make excellent door signs for kid’s rooms! And, that what we did. I also took the opportunity to make a logo for the blog 😉 Always good to get some help from the kids, especially when the name of the blog is erm, kinda long…. lolx!
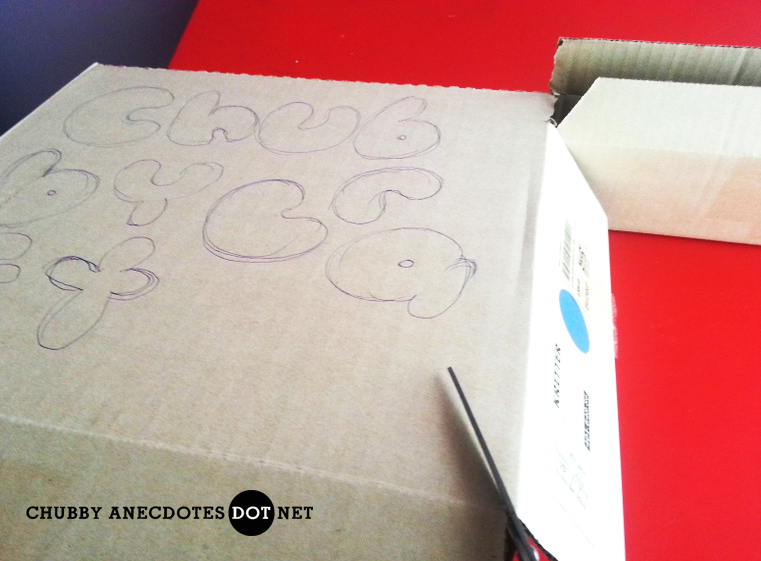
Once you’ve decided what to make out of the cut-outs, draw the alphabets on cardboard and cut them out (and yes, we are still at step 1 *grinning*).
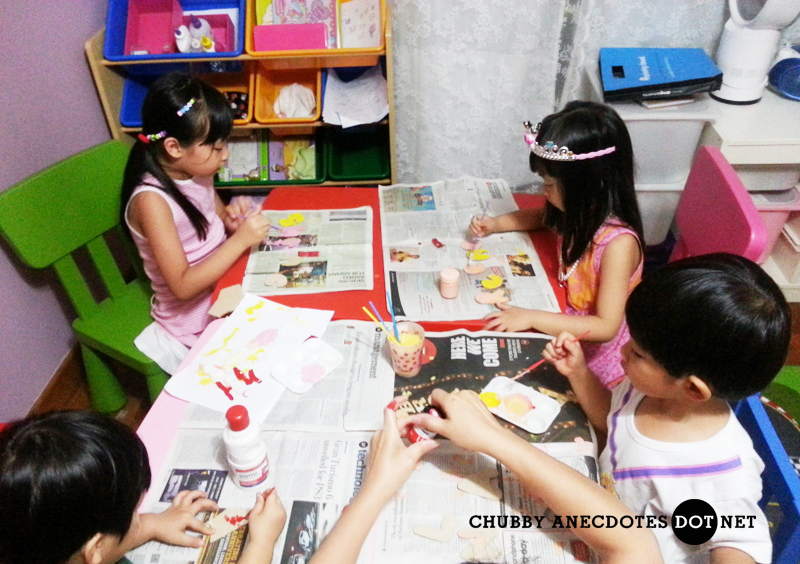
Step2: Now that you are done cutting out the alphabets, here’s when the fun for the kids begin!
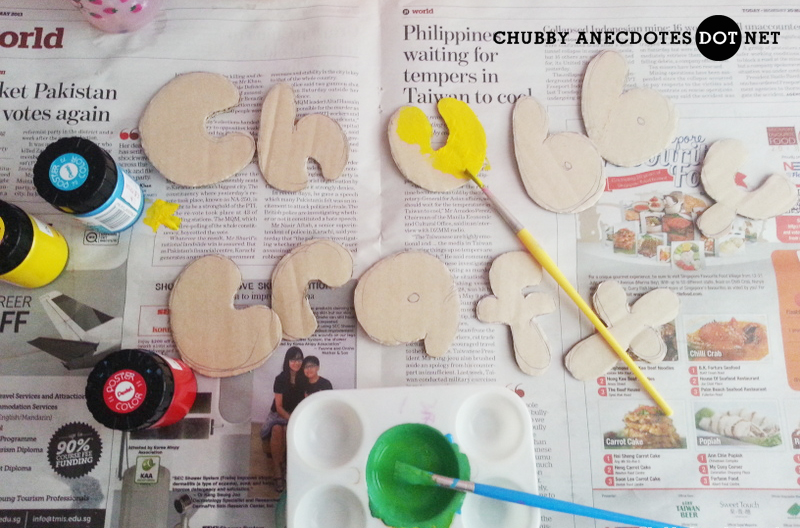
Lay a layer of newspaper on the table and you are all ready for some fun (and messy) time painting 😉
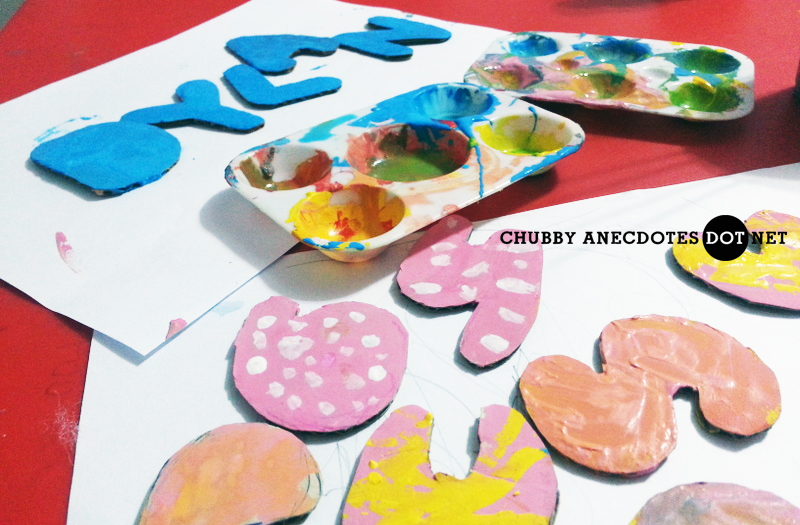
Step 3: Leave the painted alphabets to dry.
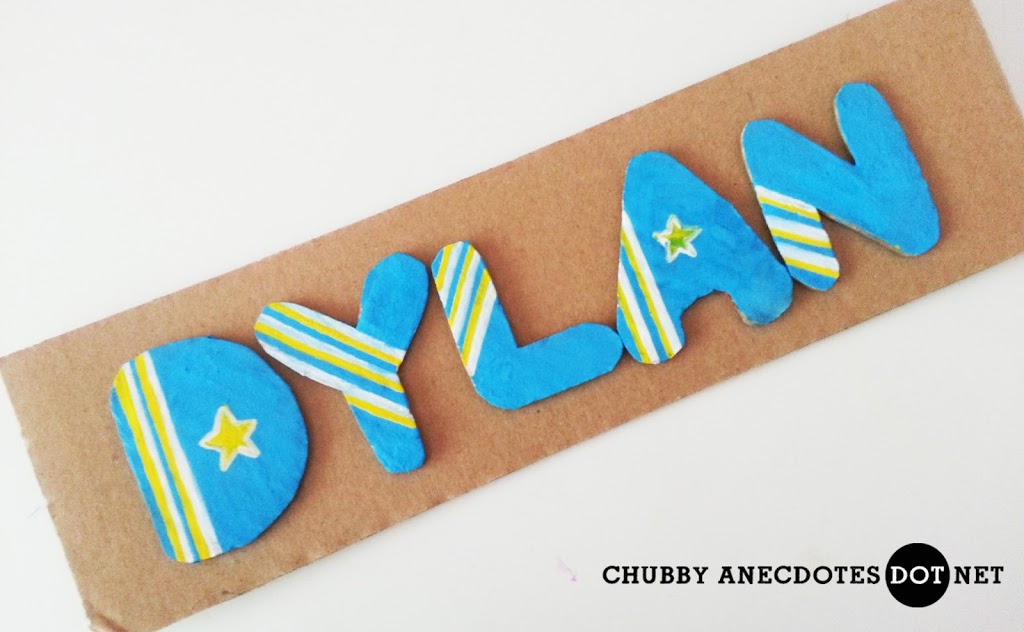
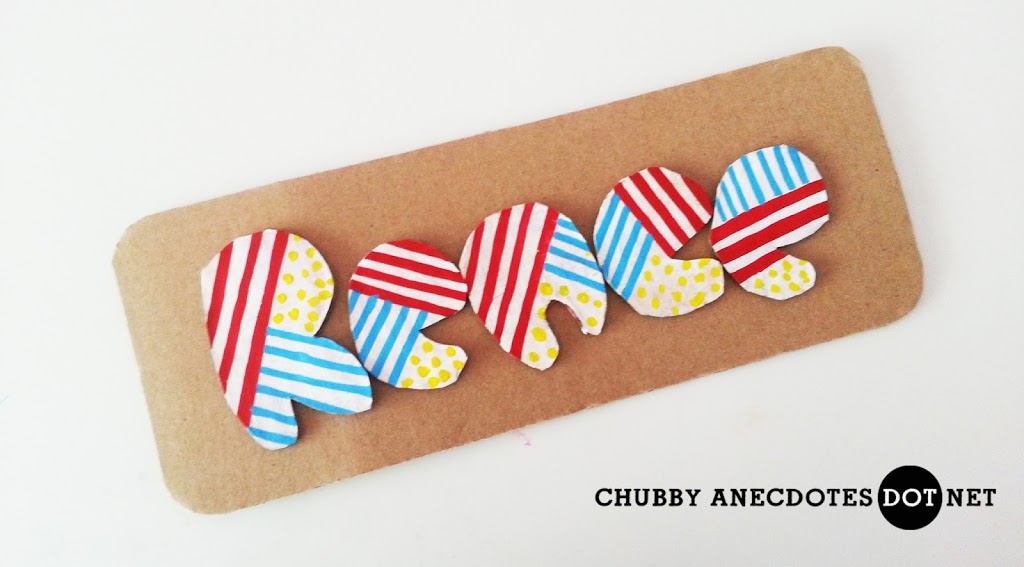
Step 4 (totally optional): Decorate the painted alphabets with dots, strips and colours. I prefer to work on this step after the younger kids have gone to bed. Jiejie however, was happy to decorate her own painted alphabets.
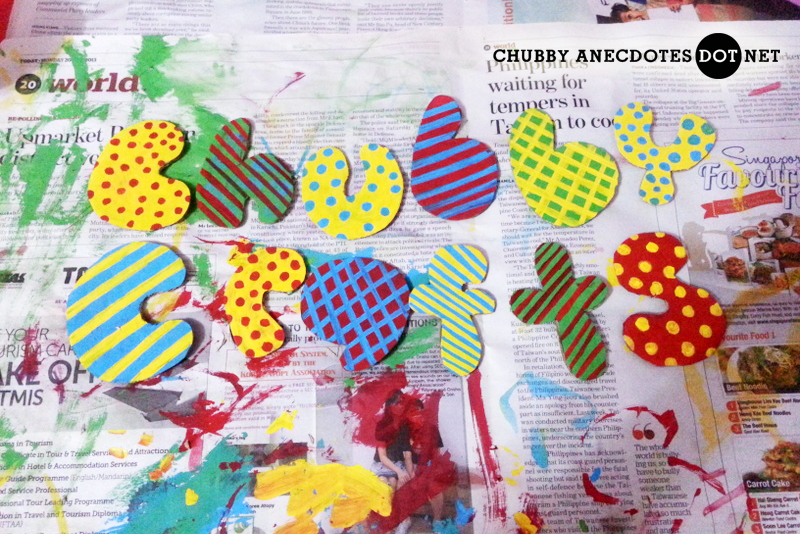
Step 5: Stick the alphabets on a clean sheet of cardboard and we are done!
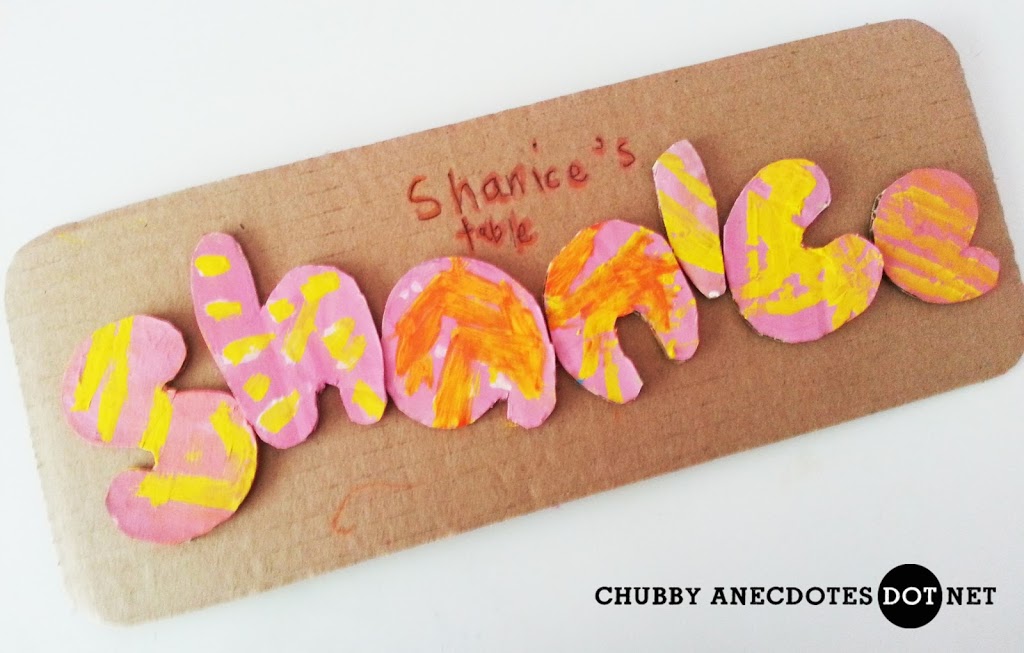 |
| This is my favourite piece. Done by Jiejie for her little study table. |

Linking up to: